Most buyers who order plastic parts have never stepped into the room where their mould is built. That's a shame, because understanding what happens in a tool room changes how you specify, quote and reject parts. This post walks through what we actually do inside our die and mould making operation in Greater Noida.
Stage 1: Design review
You send a 2D drawing or a STEP file. We open it and look for four things: draft angles (will the part release from the mould?), parting line location (is the cosmetic face hidden?), gate position (will the plastic fill cleanly?), and wall thickness uniformity (thick sections cause sink marks). Ninety percent of tooling problems are caught here, for free, before we cut any steel.
Stage 2: Mould design
Our mould designer builds a 3D CAD model of the tool itself — core, cavity, inserts, gating, runner, cooling channels, ejection system. This takes 2–5 working days depending on complexity. You see this file and sign off before we move to steel.
Stage 3: Steel selection
- P20 — pre-hardened, easy to machine. Good for prototype and runs up to 100,000 shots.
- H13 — hot-work tool steel, heat-treated. Goes up to 500,000 shots, handles glass-filled resins.
- S136 — stainless, corrosion-resistant, high polish. Used for cosmetic and optical parts.
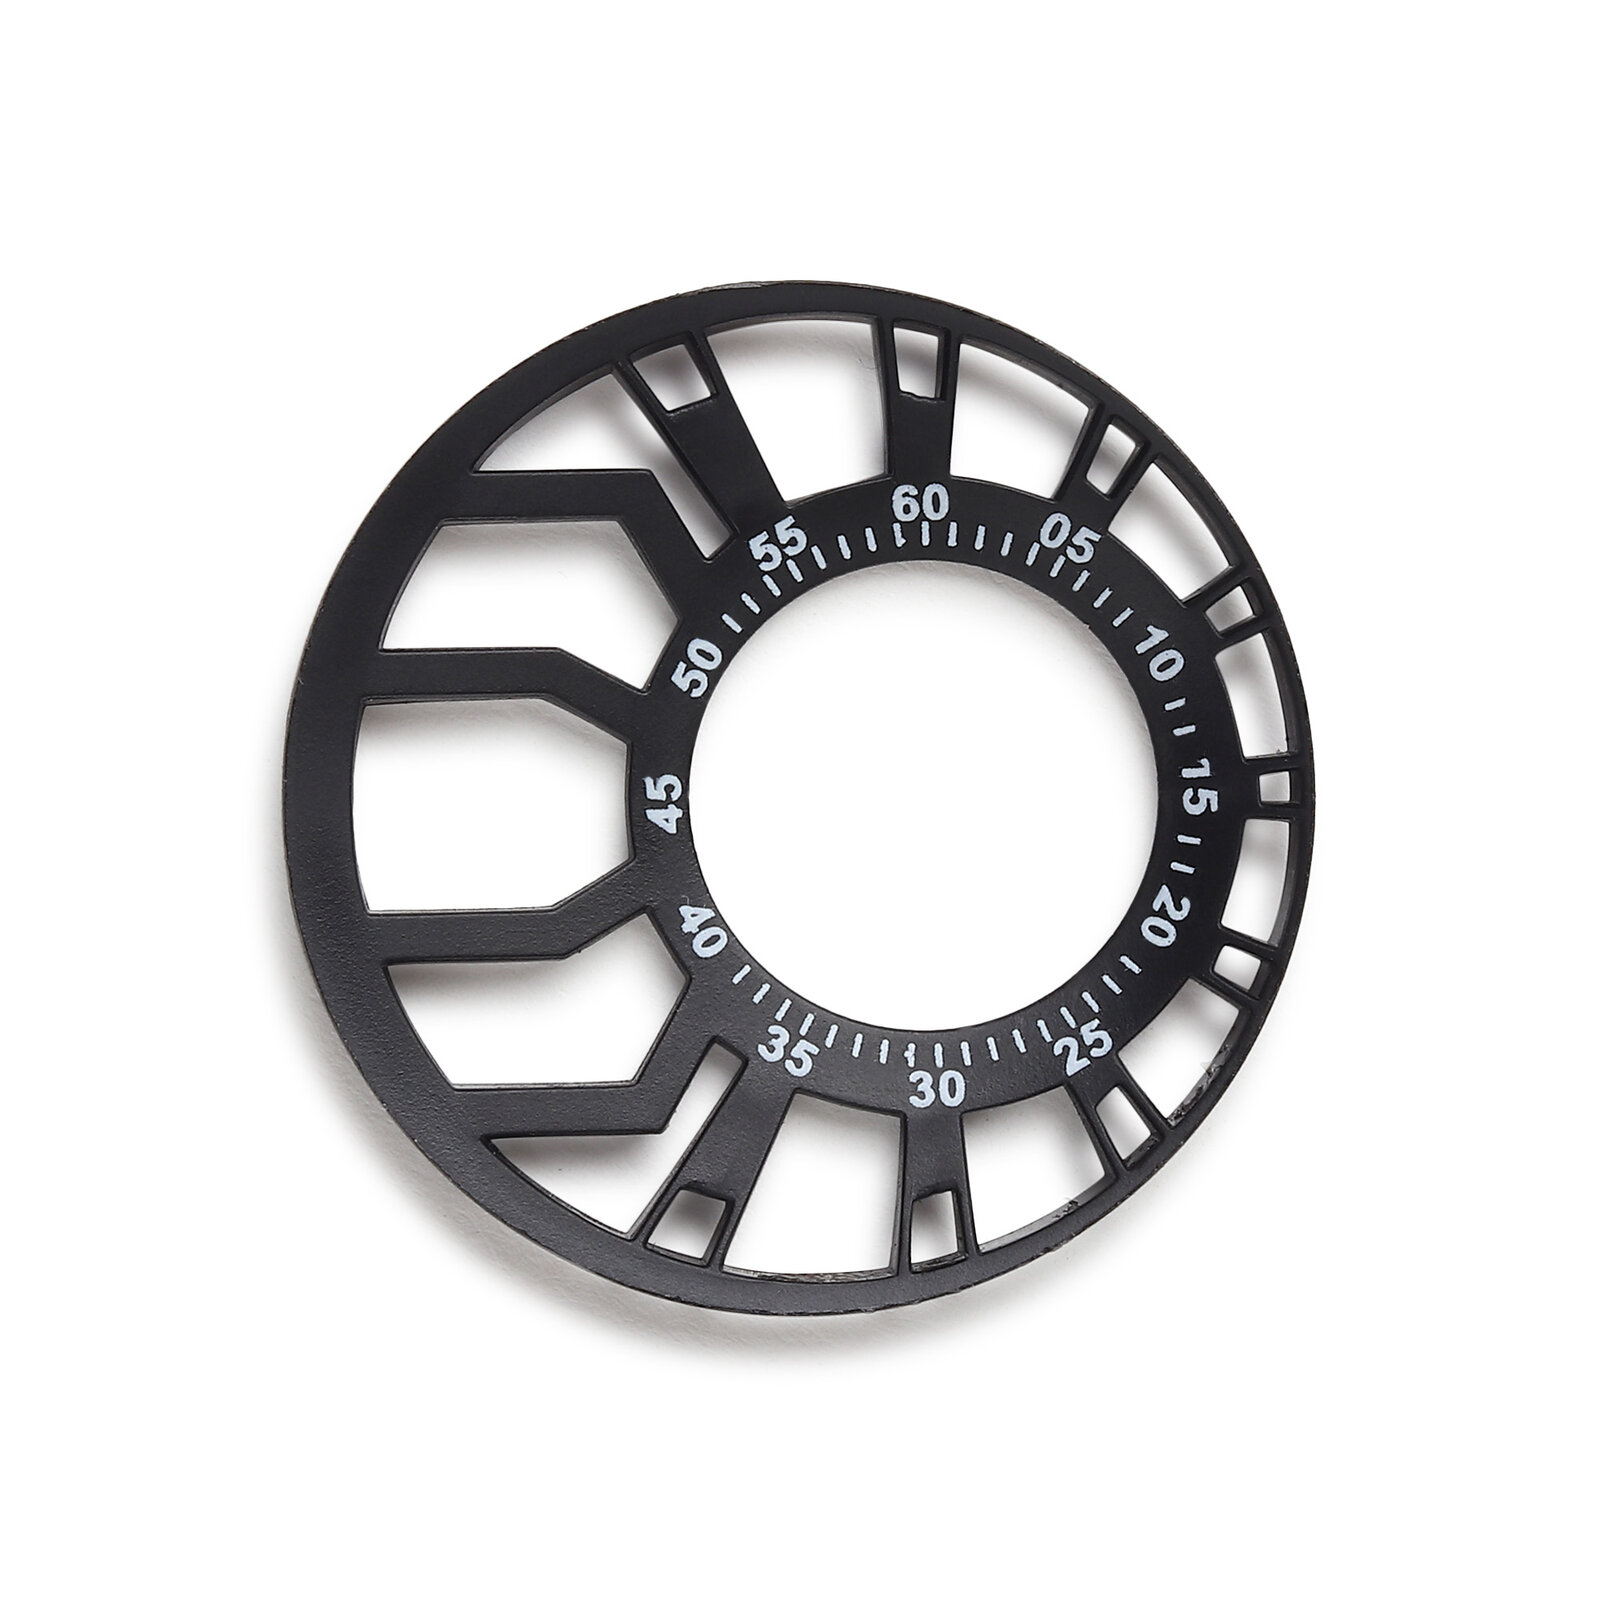
- NAK80 — pre-hardened, mirror-polishable. Our default for high-end watch dial tooling.
Stage 4: CNC machining
Core and cavity are machined on 3-axis CNC vertical machining centres. Cycle times for a single-cavity watch component mould typically run 40–80 machine-hours. Precision machining at this stage holds surfaces to roughly ±0.01 mm — the final accuracy comes from the next stage.
Stage 5: EDM — wire and sinker
Wire EDM cuts through-features — ejector pin holes, sharp internal corners, through-slots — with an accuracy of microns. Sinker EDM carves pockets that a rotating CNC tool physically cannot reach. Together they put the final ±0.02 mm of accuracy into the cavity.
Stage 6: Polishing and texture
Mirror-polish cavities for optical parts take 8–20 hours of hand polishing. Textured cavities (VDI or Mold-Tech) are sent out to a specialist texturing house and come back with a standardised matte finish.
Stage 7: Assembly and try-out
The tool is assembled — ejector plates, slides, cooling circuits — and mounted on our 50-tonne injection press for the first shots. We adjust injection speed, pack pressure and cooling time until the part meets drawing. First-article inspection with a dimensional report closes the loop.
Why it matters that it's in-house
If any of these stages is outsourced to a third party, communication lag adds days to every iteration. Our tool room sits in the same facility as our injection moulding floor — the designer, machinist, polisher and press operator literally walk to each other's desks.
What you pay for
A single-cavity production mould for a watch component typically lands between ₹80,000 and ₹4,00,000 depending on steel grade, complexity and finish. That's yours to keep after the first invoice. Over 100,000 parts, the tooling amortises to under ₹4 per part.
Share your drawing and we'll come back with a quote and a candid view on what the mould will cost and how long it will take. See our other manufacturing services for the full picture.
Tags
Related pages
- arrow_forward Die & Mould Making
- arrow_forward Mould Repairing & Designing
- arrow_forward Plastic Moulded Products